
 |
|
|
| Enemies in this area: Blazer Beetle <Eat: Limit Glove> Feather Circle <Eat: Lv4 Holy> Garuda <Eat: White Wind> Gigan Octopus <Eat: Mighty Guard> Green Vepal <Eat: Aqua Breath> Whale Zombie <Eat: Lv5 Death> |
|
 |
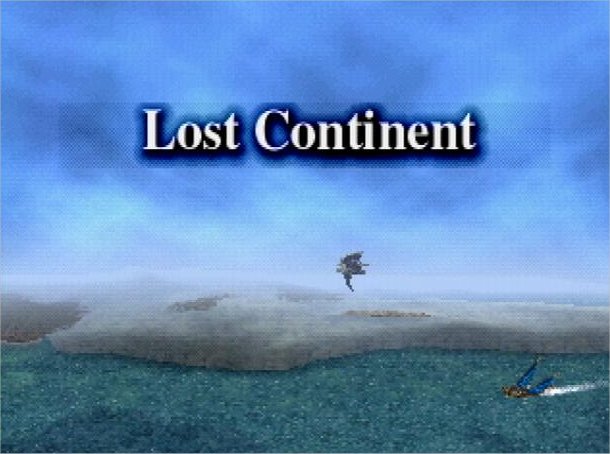
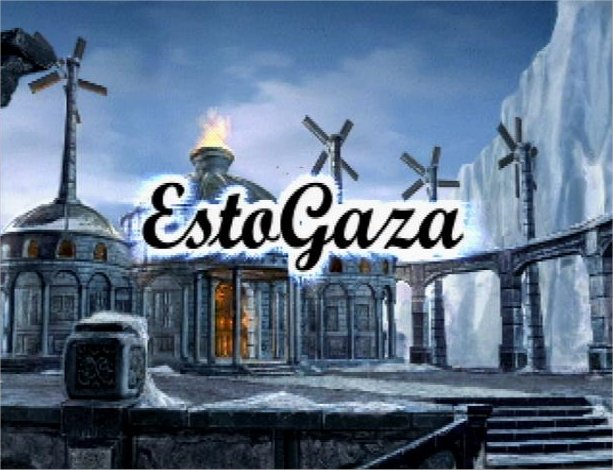
After you alight on Quelmiera Shores, you can use the chocobo tracks just ahead to call Choco if you wish, but you don't have far to go. Travel slightly west along the shore to Esto Gaza. (Notice that the location of your ship shows on the world map as a blinking blue dot.) Equip the Locomotion and Body Temp abilities on everyone. Enter the building ahead. |
| After a short scene, you will have to choose party members again. Walk to the right and buy supplies (including lots of Vaccines) and new equipment at the shop. The Octagon Rod is especially important, as it will allow Vivi to learn Firaga, Blizzaga, and Thundaga. Walk all the way around the room and behind the counter on the right for a Wing Edge. Reequip your party, and then return to the previous room. If you speak to the Bishop, he will let you rest for 100 gil. Sometimes there is a couple standing in front of the altar. If you speak to the girl, the boy might get suspicious. | 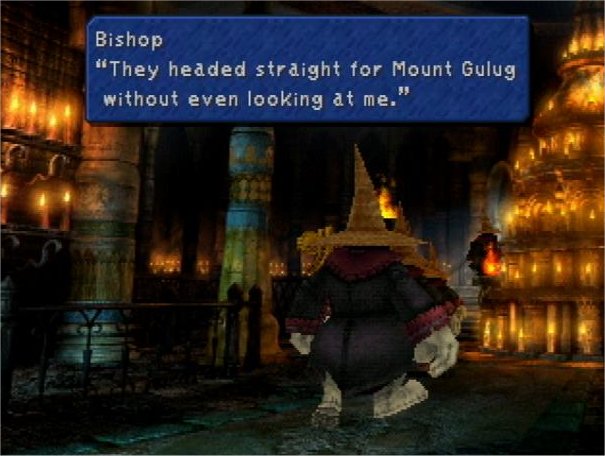 |
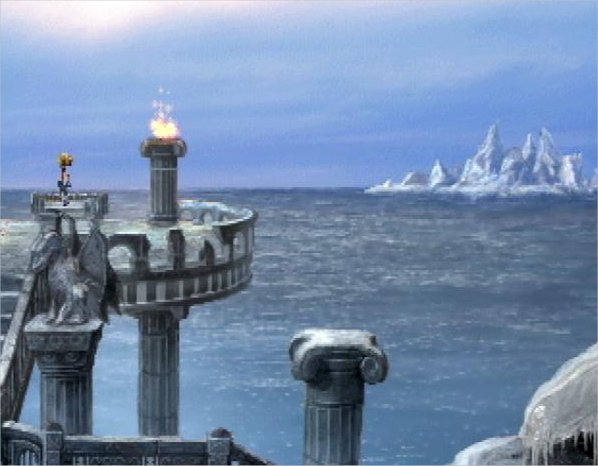 |
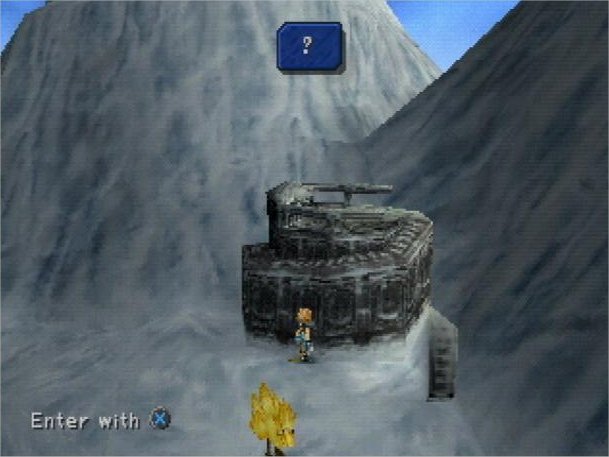
Exit the building at the back and speak to Mogrika the moogle on the terrace. Check Mognet, and read the letter from Artemicion. Mogrika will also ask you to deliver a message to Moolan. If you run up the steps and stand on the platform, you can get a view of the Shimmering Island. Go down the stairs to the right and follow the path up another set of stairs. Leave Body Temp on your characters, and equip the Antibody ability as well. Walk up through the doorway to Mount Gulug. |
Continue to Mount Gulug