
 |
|
|
| Enemies in this area: Grenade <Eat: Mustard Bomb> Meltigemini (boss) Red Dragon <Eat: Twister> Red Vepal <Eat: Mustard Bomb> Worm Hydra <Eat: Bad Breath> Wraith <Eat: Frost> <Eat: Mustard Bomb> |
|
| Walk left into a dark room and read the bulletin board. It will tell you to pull the lever when you first use the well. Get 9693 gil in the lower right corner of the room, then climb up the ladder. There is an Ether upstairs and a Red Hat outside the building on the left, which you will have to climb down a ladder to reach. Return to the entrance and go right. Walk through the house, return to the well, and press X at the ! icon on the right side of the platform. Walk down the pathway and through the doorway. Find the chest with the Golden Hairpin. Examine the ! for another bulletin board message telling you to pull down the lever at the end. | 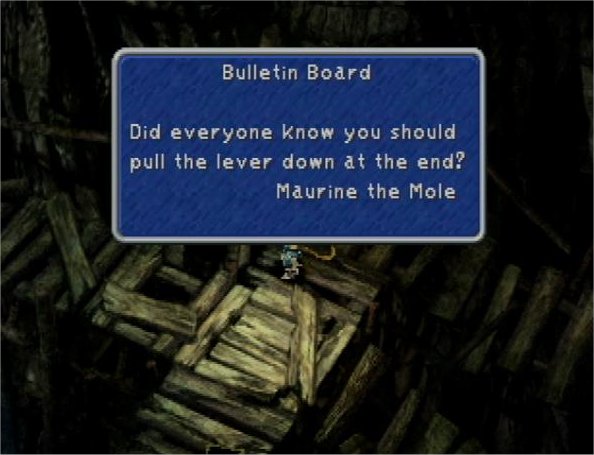 |
 |
Return to
the well and use the center icon to get on a rope, which you
will need to climb down. Go right and speak to Moolan who will be
happy to receive the letter from Mogrika. You should also get the
letter for Mogtaka. Rest and save the game. In the corner
to the right of Moolan is a Wing
Edge. Get it, then go through the doorway on the
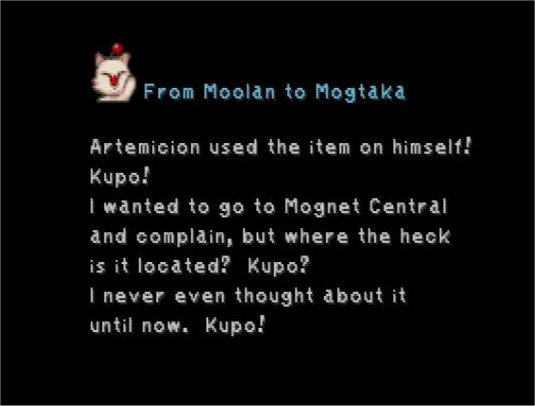
right. Walk up the stairs and read another bulletin board
message. Apparently the lever will need to be pulled a second
time. Go out through the door on the left and get the Gaia Gear. When you
reach the bottom of the stairs inside the building, a pair of red
dragons will ambush you. Try to steal tents, ethers, and elixirs
from them, and eat one to learn
Twister. They are very susceptible to ice magic, so take
advantage of that. |
| Return to the well. Walk left into another decaying building, taking the left doorway. Get the Demon's Mail in the corner, and then read another bulletin board message. This one says to pull the lever three times. Go back out and into the upper doorway. Go up the stairs and speak to Mogtaka. Deliver the letter from Moolan. Do some shopping, rest, and save the game. Go on up the stairs and into the next building. A third Red Dragon crashes through the wall. Again, try to steal before defeating it. It will drop an Ether. Get the Elixir from the chest at the back. | |
| It is time to go back to the well and make use of all the advice from the bulletin boards. Pull the lever down three times. Climb down to the bottom of the well, where two more Red Dragons will very kindly create an exit for you.. Of course, you will have to defeat them first. | |
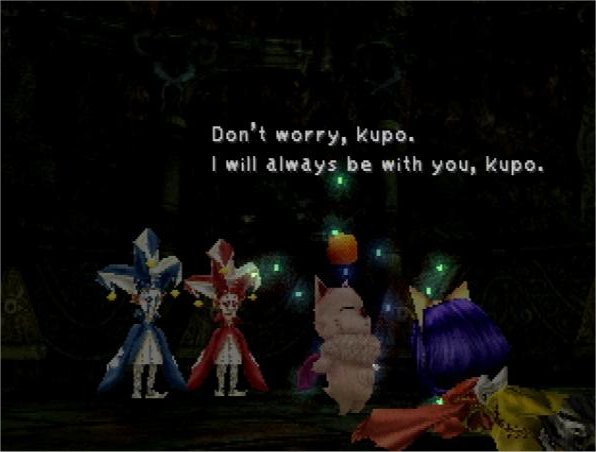 |
You will
find that Zorn and Thorn, acting on Kuja's orders, are trying
to extract the eidolons from Eiko. Everyone, Dagger especially,
is understandably upset. As Zidane races down to save Eiko,
Mog
shows herself to be more than anyone had realized. After Eiko
defeats the jesters, she will receive a Ribbon, which will allow her
to
summon Madeen. Kuja will draw his own conclusions from what he
has seen. |
| Zorn and Thorn will merge, and you will have another boss fight on your hands . . . Meltigemini. Try to steal the Golden Hairpin, Demon's Vest, and Vaccine. Use Mini on the boss, and Bad Breath is helpful, if you have it. | 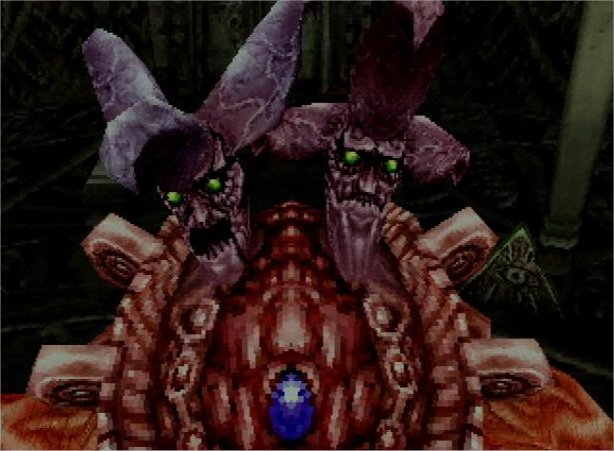 |
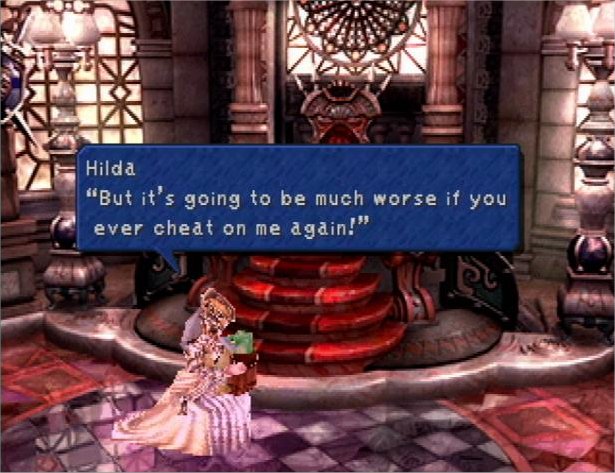 |
After the battle, Vivi will reappear, and Hilda will be found. She will eventually agree to return Cid to his true form, after recriminations and dire threats. |
Continue to Hilda Garde 3