
 |
|
|

| Enemies
in this area: Adamantoise <Eat: Earth Shake> Anemone <Eat: Bad Breath> Armstrong <Eat: Matra Magic> Cactuar <Eat: 1,000 Needles> Catoblepas <Eat: Limit Glove> Epitaph <Eat: Angel's Snack> Jabberwock <Eat: Limit Glove> |
|
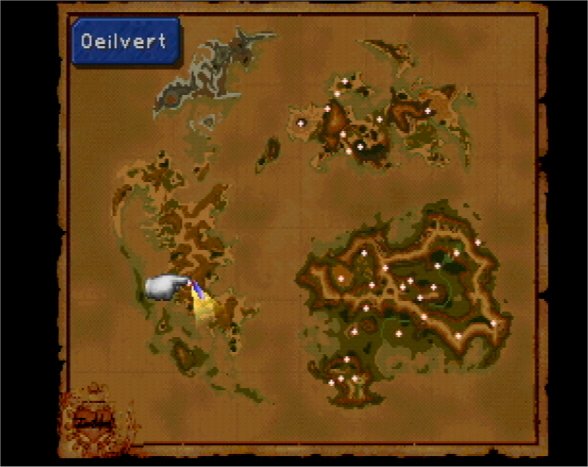 |
The first thing you should do is go north to Qu's Marsh and catch frogs. When you're finished, go south and follow the canyon. You will know you're going the right way when it starts to get darker. Head east, and then follow another canyon south. When you get to the sea, turn left, and follow the spiral to the protected location of the castle. If you're getting frustrated, there are chocobo tracks here. Riding will make this easier. |
| A moogle named Mimoza waits outside Oeilvert. Check Mognet, and you will be asked to deliver a letter to Mooel. Mimoza runs a very nice Mogshop, so stock up and upgrade your equipment if you can. Be sure to hang on to at least 1000 gil, though. When you're through shopping, equip the new items (taking into consideration that you can't use magic once you go inside), use a tent, and save the game. Continue down the path to Oeilvert. | |
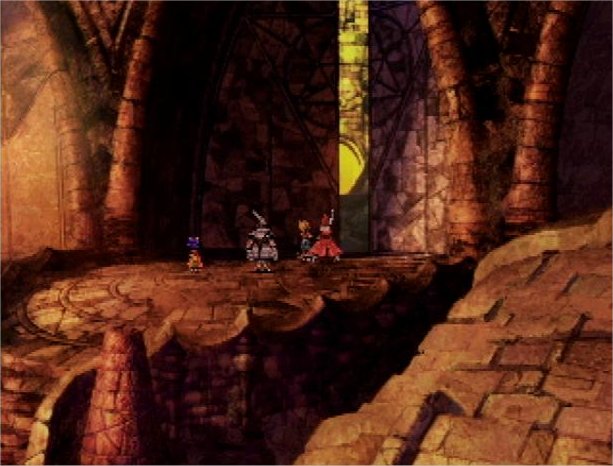 |
The large doors will open for you, so enter the fortress. Go through the doorway on the right. Speak to Stiltzkin and buy the items he offers for 888 gil. Mooel is here, so deliver the letter. Save again if you like, and return to the front hall. Directly across from the entrance is a Remedy, and directly above that is a chest containing a Rising Sun. From that chest, walk left and examine the globe, which will turn red. Get the Elixir from the chest behind it. Go back downstairs and through the left doorway. Get the Diamond Sword on the lower right, and then continue left. A holographic image will appear in the middle of the room. Walk behind the image and pick up the Shield Armor. Exit this room by the stairs at the bottom. |
| There is nothing you can do here yet, so go up the stairs. To the right are Feather Boots. After you get them, examine the light shining from the floor on the top left. It is some type of projector. Examine the right one next. Go back downstairs, and examine the one on the right, then the one on the left. These give a little information about unfamiliar airships. Go back upstairs and through the doorway on the left. Walk across the first arch, and examine another projector. Continue across the next arch, and you will find yourself in the room with the globe holograph. Walk through the blue doors on the left, which will unlock for you. You will be in a disturbing room with walls full of faces. Here you will learn a little more about the mysterious Terra. | 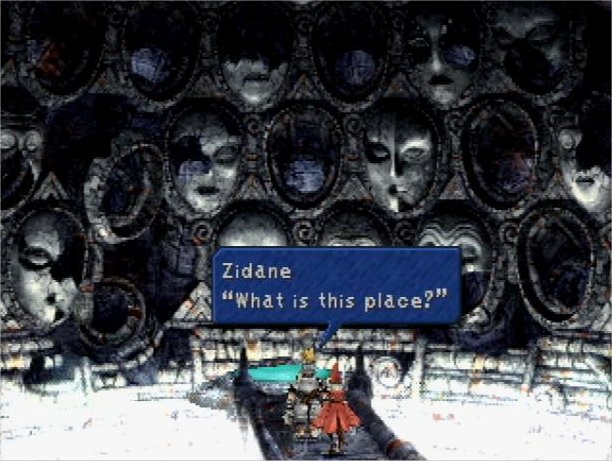 |
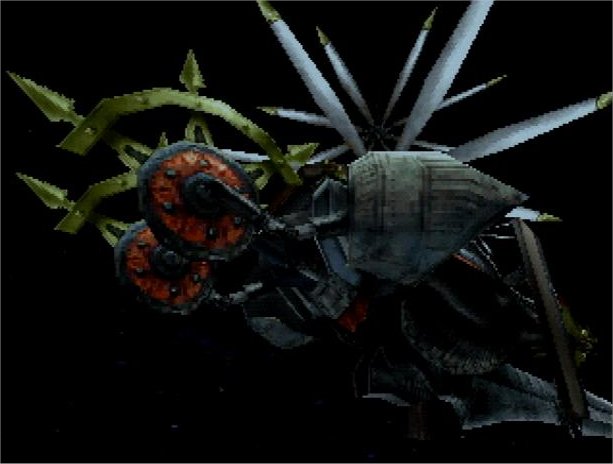 |
Return to the front hall, and go back through the doorway on the right. You may notice that this room looks different now. Save the game, and walk around the central area to the right. Another holographic image will appear. Continue around the room and get the Gaia Gear at the back. Now walk up the back stairs and onto the circular platform. Examine it, and it will carry you to another room. Equip the Clear Headed ability on your characters. Have Zidane inspect the strange object here, and Ark will appear. This is a tough machine. You can steal a Power Vest, Holy Lance, and Elixir from him. If Zidane trances, use Grand Lethal against the boss. After the battle, you will get a Pumice Piece. Walk up to the contraption and get the Gulug Stone. |
Continue to A Puzzle of Shadows