
 |
|
|
| Enemies
in this area: Agares Cerberus <Eat: Auto-Life> Gargoyle <Eat: Mighty Guard> Taharka (boss) Tonberry Veteran <Eat: Doom> |
|
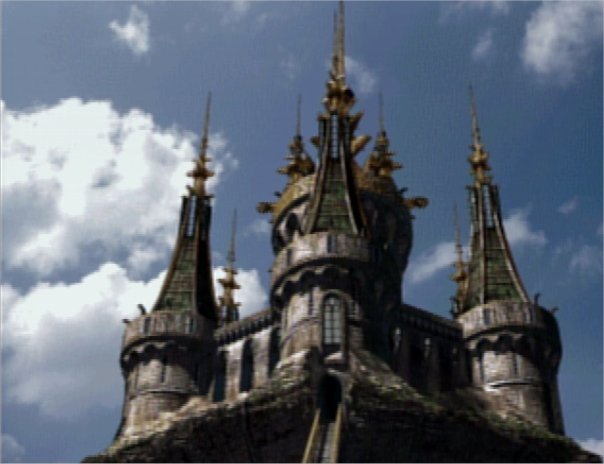 |
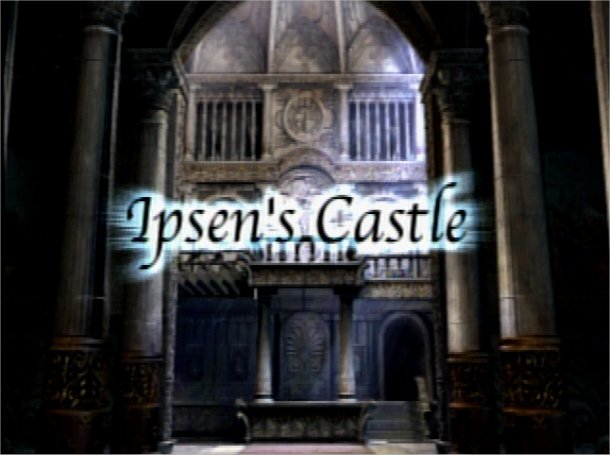
Ipsen's Castle looks like a
castle on top of an
upside-down image of
itself. The place is reversed in another way, as well. You
must use the weakest weapons possible to do sufficient damage
here. Don't worry if you no longer have your starting weapons -
they have kindly scattered some throughout the castle. Before you enter the castle, Amarant decides he will compete with your party to achieve the objective here first. Let him go, and choose your party members. I like the original Fantastic Four for this - Zidane, Dagger, Steiner, and Vivi. |
| After you enter the castle, open the chest on the left containing a Dagger, and the chest on the right containing the Aquarius Stellazzio. Go up the stairs at the back of the room and through the doorway. Speak to Kermool, and deliver the letter from Mogki. Do any shopping necessary at the Mogshop, and save the game. | |
| Across the room is a doorway that leads to a small overlook. The view there gives you more of an idea of the strange nature of this mirror-image castle. There is a chest containing Cat's Claws to the left of the doorway. When you're ready, make like a fireman and slide down the pole that goes through the floor. Walk over to the ladder and climb up to the balcony. Follow it around through the doorway, across another small section of balcony, and into another room. | |
| Note: Whenever you encounter a Gargoyle in the castle, use a Soft on it to defeat it quickly and easily. | |
| Climb
up the ladder and press X at the
icon. Jump to the left, and walk around the balcony to get the Javelin. Return to the
ladder, choosing to jump off to the right this time. Run around
the balcony and get the Broadsword.
Back at the ladder, follow it to the bottom. Walk around this
balcony, and get on the next ladder. Climb up and jump off.
Walk around and get the Rod.
Climb the ladder to the top and walk through the doorway. |
|
| At the bottom of the room,
examine the wall. Choose to push it,
pound it, think, push it again, try something drastic, and then
rest. The passage will open. Run to the right and get the Barette, then walk to the
back and take the elevator to the top. |
 |
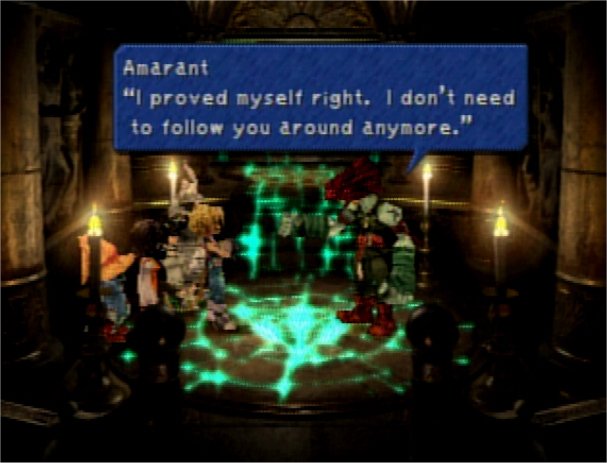 |
You will find Amarant waiting for you. Though he hasn't broken the seal, he considers the fact that he was the first one here sufficient proof of his superiority. Feeling no further need to prove himself, he leaves the party. |
| |
|
| Search
the wall at the back
to get the Water Mirror,
Fire Mirror, Wind Mirror, and Earth Mirror. These
mirrors give clues to the locations of their shrines.
Unfortunately, their guardian is rather distressed by your attempt to
take them, so you must fight Taharka. |
|
| Bring out the big guns here. Summon Bahamut if you can, and have Vivi use high-level black magic, both alone and in conjunction with Steiner. Try to steal the Elixir, Mythril Claws, and Orichalcon that Taharka carries. Before succumbing, the boss offers what is intended as discouragement, but which will actually serve as a clue. Retrace your steps to get out of the castle. | 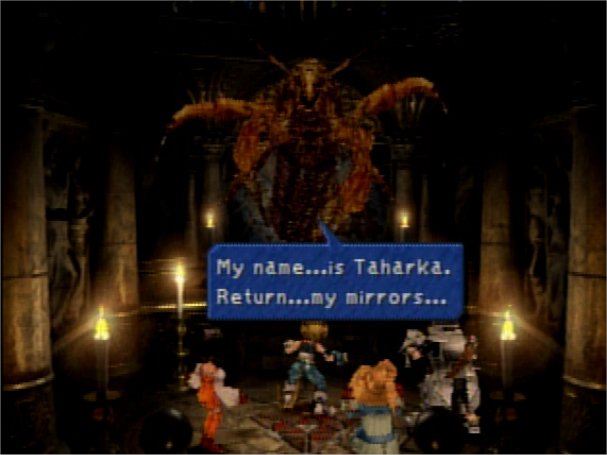 |
| Walk over near the chest at the top left and fall through the hard-to-see trapdoor. Get the Maiden Prayer, jump down, and climb the pole again. (There is another trapdoor under the balcony to the left of the first one, but you should avoid that one.) Save the game. Back in the entrance hall, take the middle staircase that is almost hidden under the balcony. Follow the path to an elevator, and take it down. | |
| There is a Golem's Flute here in the Sword Room. Rearrange the vases in a counter-clockwise direction to release the energy from Odin's Sword, and then get the Ancient Aroma from the vase on the right. Ride the elevator again, and get the Air Racket in the back left part of the room. Return to the room with the pole and climb it to get the Fork and Mage Staff from the chandelier. Of course, these are now virtually useless, since you are nearly ready to leave. But it's the principle of the thing. Climb back down the pole and leave the castle. | |
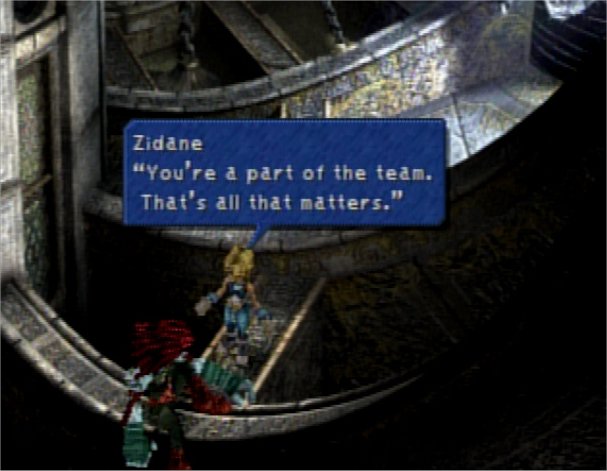 |
Outside, you will learn that
Amarant never made it back out.
Concerned, Zidane will run back inside to look for him. C'mon,
you knew he was gonna do that. He's the hero, after all. Go slide back down the trusty pole, and you can find Amarant lying on a narrow ledge at the bottom of the room. He is once again perplexed by Zidane's motivations. After rescuing him, exit the castle again. The party will make plans to take on each of the four shrines simultaneously. Don't forget to equip the party with powerful weapons again. Reboard the ship. |