
 |
|
|
A Puzzle of Shadows
| Enemies in this area: Drakan <Eat: Vanish> Grimlock <Eat: Night> Ogre <Eat: Matra Magic> Torama <Eat: Lv4 Holy> Valia Pira (boss) |
|
| Back at the Desert Palace, the other members of your group fear that Zidane will not return in time, and Cid decides to take matters into his own hands. Move him to the central platform, and then go right. You have six minutes to get the Hourglass Key. Pressing the O button to move, you must go very slowly toward the cage holding the Hedgehog Pie, stopping every time it turns to look at you. If it sees you moving, you will have to start back at the beginning, so move only when its back is turned to you. If you are unable to get the key and reset the hourglass before time runs out, you will have to start over. | 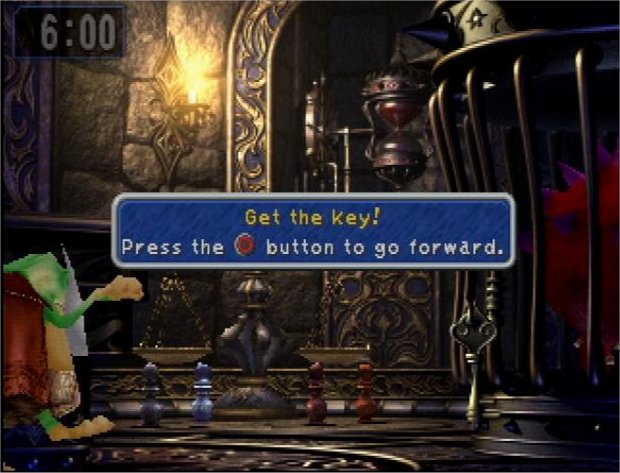 |
 |
After obtaining the key, move over to the scale and weights. Choose to examine them. You will have to use three of the weights on one side of the scale so Cid can climb up to reach the hourglass. Use the clay, stone, and iron weights. Have Cid climb up, and he will turn the hourglass over. |
| When your party reunites,
Eiko
will be in charge. If you chose to
include her in the Oeilvert party, Vivi will lead the group.
Update everyone's equipment, then go right, back into the room with the
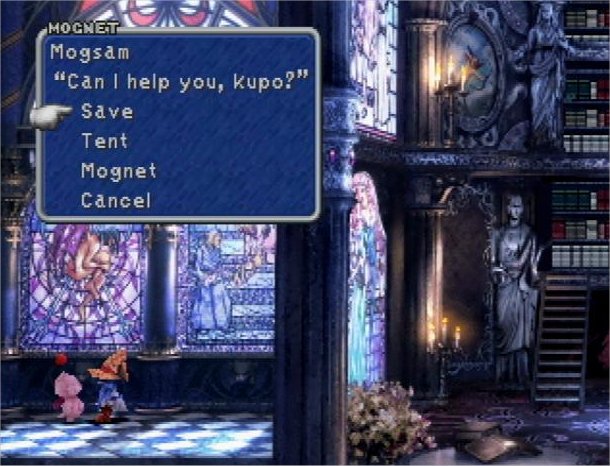
hourglass. Speak to Mojito the moogle (who was not visible from
your frog's-eye perspective) and check Mognet. You will be asked
to deliver a letter to Mogsam. Make whatever purchases necessary
at the Mogshop, then save the game. Go back to the dungeon and up
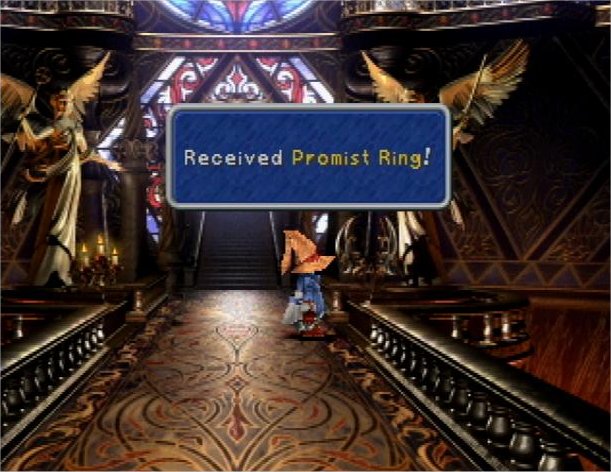
the stairs to the left. Examine the candelabrum to the left of
the path, and then inspect the glowing orb on the other side.
When you examine the bloodstone, you will receive the Promist Ring. |
 |
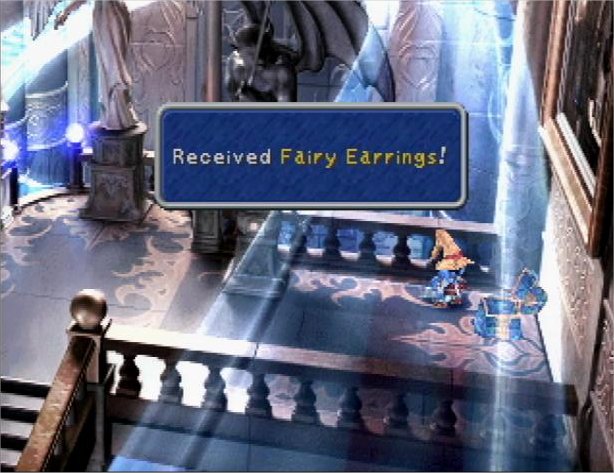 |
Run up the stairs and all the way to the right, then back to the left until the center statue's eyes light up and a crystalline pathway appears behind it. Follow that path up to the balcony. Light the candelabrum here, then go back down the shining pathway. Go right for the Fairy Earrings. Walk to the left and up the stairs. Light a fire in each of the three braziers, then walk through the doorway at the back. Follow the path to the other side of the balcony. |
| On this side, light only the brazier next to the roses. Go back to the left side of the balcony and then to the middle. Examine the sculpture at the center back to learn that "the path will open when all lamps are lit." Light the braziers at either side of the staircase, then light the remaining two on the right. Go down the stairs and light the last brazier, then run back up and inspect the bloodstone to receive an Anklet. Go through the doorway on the right, and light the candelabrum in the hallway. Inspect the bloodstone to get the Shield Armor. Continue around the hallway, and then walk slightly toward the screen to go up the stairs. | 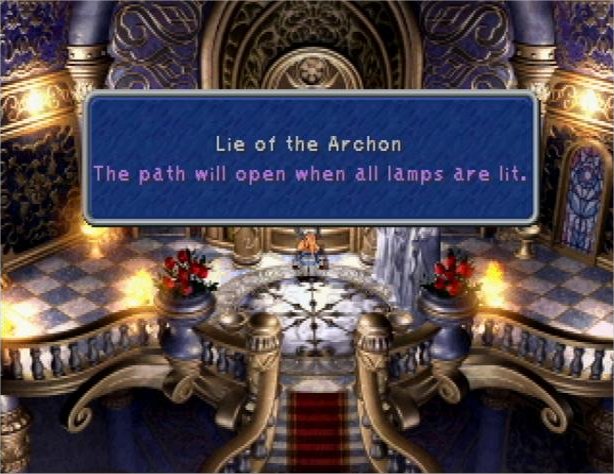 |
| Light
the candelabrum at the
top, which will cause a stained glass
window behind you to be illuminated. Walk around the circular
path, and through the doorway into the library. Light the
candelabrum on the left to make a staircase appear on the right.
Walk up the stairs and light the other candelabrum. A bookshelf
will move up, allowing access to a previously hidden doorway.
Inspect the bloodstone to receive an N-Kai Armlet. Back in
the library, walk up the small staircase. Read the clue which
says, "Unlit stained glass opens the path when lit." |
|
| Light the candelabrum on the right to gain access to a second hidden doorway. This one leads to a set of stairs. Halfway up the stairs is another candelabrum to light. This will light the stained glass window to the left. Continue up the stairs and light yet another candelabrum, which will illuminate another stained glass window. Return to the library and light the candelabrum beside the right statue. This reveals a third doorway, behind which waits one more candelabrum. You can now enter a hidden room to the left of the library where Mogsam the moogle waits. Deliver the letter from Mojito, use a tent, and save the game. Continue to the left into a new area. | 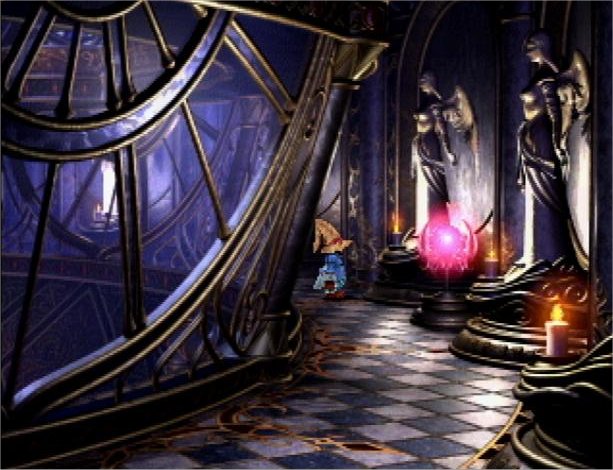 |
 |
Examine the gargoyle sculpture, then light the two candles. Inspect the bloodstone and get the Black Hood. Walk through the back doorway and cross to the other side of the room. Light all three candles here, noticing the shadows that are cast on the wall. (This is called the Shadow Chamber, by the way.) Inspect the bloodstone for a Venetia Shield. Put out the middle candle here, then cross back over and put out the left candle on the right to cause a crystal staircase to appear. Equip everyone with status-preventing abilities, especially Antibody, Vivi with the N-Kai Armlet, and Dagger with an Aquamarine. Ascend the stairs and light the last candelabrum, causing the palace's security system to activate. |
| You must now fight Valia Pira. It is weak to water, so use Leviathan when you can. If you had not extracted the items from the bloodstones, its power would be greater, but as it is, its attempted enhancements fail. Use Carbuncle or Reflect, as Valia Pira uses high level magic. Vivi should cast Water on the boss every chance he gets. There is nothing to steal, and nobody here to do it, anyway, so just focus on staying alive and attacking the boss with everything you've got. (Remember that Dagger's silenced condition will often affect her attacks.) After it is defeated, return to where Mogsam stands, rest, and save. Go back to where you fought Valia Pira, light the candelabrum, and step into the portal. | 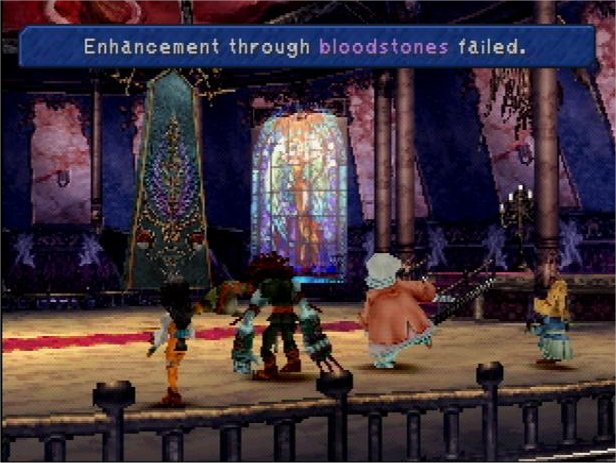 |
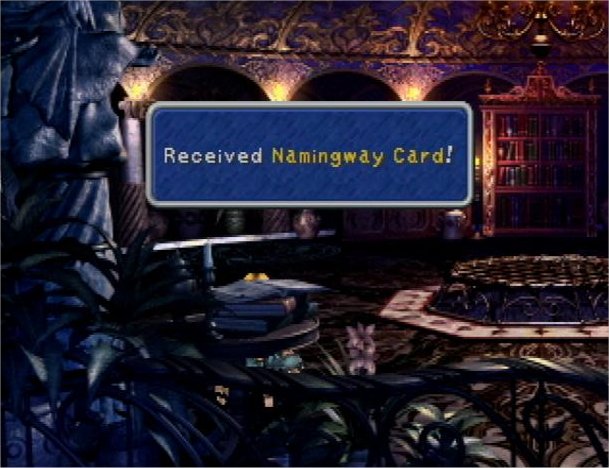 |
The other party has returned to the Desert Palace, and you will regain control of Zidane. Use the portal to teleport back inside the palace. You will be placed outside Kuja's room, and he will allow only Zidane to enter. He shows Zidane that his friends are safe, but it is an illusion. Outside the chamber, the rest of your party witnesses the others' arrival on the teleport pad. Obviously, Kuja believed them to be dead and showed Zidane a false image. The others are suspicious of Kuja, and Quina leads the way in an attempt to rescue Zidane, but Eiko gets shut out. Apparently Kuja has plans for the little summoner. Kuja takes the Gulug Stone by trickery, and then teleports out. Get the Namingway Card beside the small, round table before you leave. |
| Use the left teleport pad to return to the airship dock. You will find that the Hilda Garde 1 is no longer there. Run outside the dock area. Hit the lever that lowers the rope ladder. Exit the area at the top of the screen, and your party will follow Kuja to the Lost Continent. Save the game. | 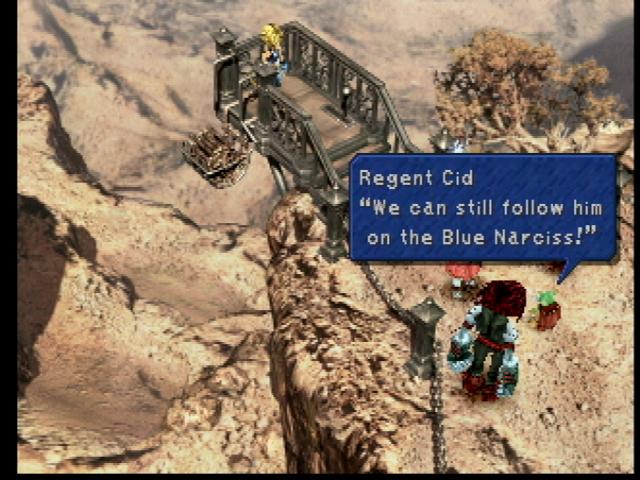 |
Continue to Lost Continent and Esto Gaza