
 |
|
|
Queens and Shipwreck
 |
 |
 |
||
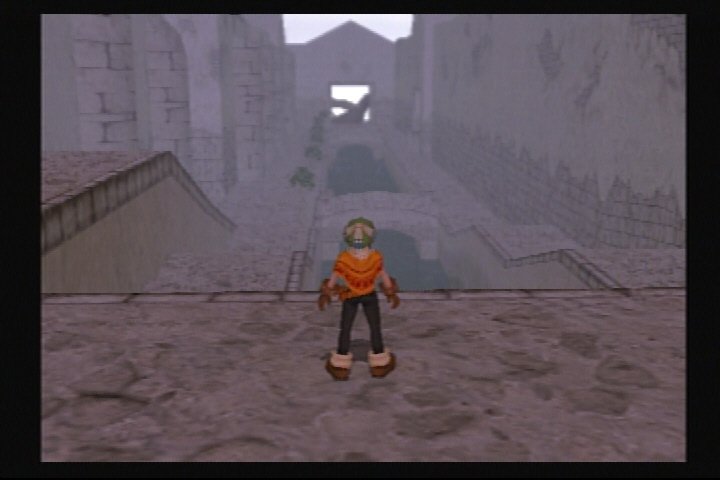
| When Toan enters Queens, a seaside merchant town, he sees that it is empty, just as Norune and Matataki were. Walk down to the other end of town, and exit to the dock area. Toan is greeted by Rando, who thought he was the only person left in the world. Toan tells his story, and says that he is searching for the Moon Orb. Rando is very angry that the Dark Genie has been released, and says it is possible that the Moon Orb has been stored in the Shipwreck - an undersea storage facility used by the merchants of this town. Rando shows Toan how to use the one-man submarine to reach the Shipwreck. Before making your way there, however, stop in at Rando's shop and stock up on needed supplies. | 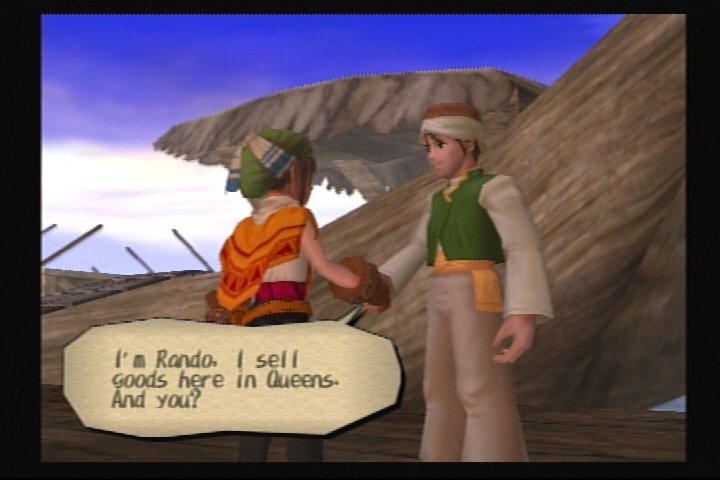 |
|||
| When you are ready, take the submarine to the Shipwreck. Approach the large hook and ride it to Layer 1 of the new dungeon. | ||||
| Layer 5: This is a Limited Zone requiring the use of Xiao. A ranged attack is better with most of the these enemies, anyway, so she is a good choice on any floor if she has a good weapon. | Layer 6: This is an extreme-thirst Limited Zone. You will need lots of water to get through it. | Layer 8: Another Abs-reducing Limited Zone. | ||
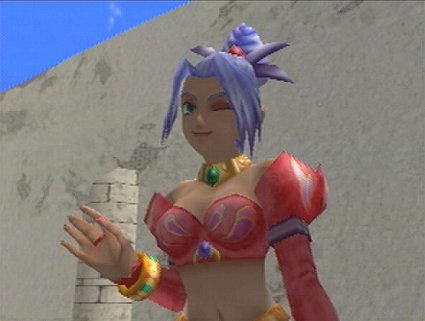 |
After Layer 8, take some time to work on the Queens georama. You will need to restore King's house before proceeding. After completing it, view the event there. King, a gangster by choice and suspicious by nature, believes that Toan will attempt to take advantage of him because he has restored King's home. King decides to "reward" Toan with an item he wants to get rid of, anyway. King presents Toan with a lamp, which Toan almost immediately, albeit accidentally, drops. The other men are horrified, because they know what is coming. A feisty and beautiful genie by the name of Ruby emerges from the lamp, wanting to know what King wants. After an amusing scene fraught with peril for King, Ruby determines that Toan is the one who called her forth. They have a talk, and Toan tells Ruby about the Dark Genie and the events that have taken place thus far. Ruby decides Toan is a noble fellow taking on an almost impossible task, and offers to join him in his quest. You will never regret taking her along. | |||
| Important: Do not view the event at Jack's without Ruby in your party. He will give you nothing if she is not present, but will come up with two weapons for you if Ruby is hovering over him. To say he is afraid of Ruby is like saying the ocean is big. Take advantage of this. | ||||
| Layer 9: You will be greeted here by a Captain, a Corcea, and a Pirate's Chariot. You must defeat them before proceeding. Open the chest to get the gate key, and then use Ruby to open the gem-based door lock. Examine the gem to determine that it is red. This indicates that you need to use fire to activate it. Fortunately, Ruby has a weapon with the fire attribute. Switch to first person view, move the camera so that you are focused on the gem, and press X to attack it. The gem-based locks will always be opened in this way, but you will have to examine each one to determine its color, which will tell you what element you need to activate it. | 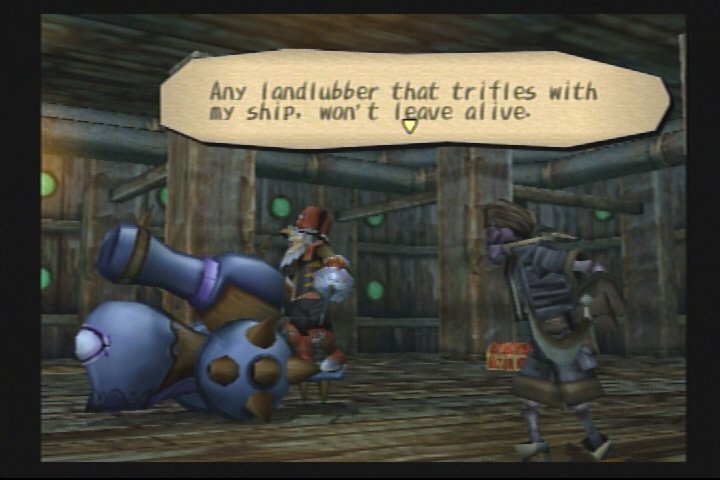 |
|||
| Layer 10: Another thirsty Limited Zone. | Layer 12: A Limited Zone for Ruby only. That doesn't hurt at all, though. | |||
| Layer 13: A thirst-causing Limited Zone. Again. Take lots of water - you can't count on finding a pool. | ||||
| Layer 14: An Abs-reducing Limited Zone. | Layer 15: An Abs-reducing Limited Zone. | |||
| Layer 17: This is the final deck of the Shipwreck, and you will need to do it twice. The first time, play through as usual, collecting all the atla. Notice that there is no exit at the yellow square? It is just a music box. Hmmm. Leave the dungeon by mind-connecting or using an escape powder. | ||||
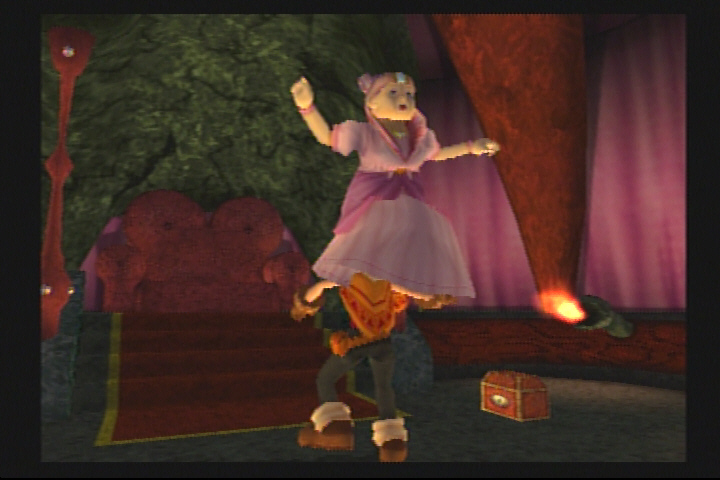 |
It's time to complete Queens. Finish the georama, fulfilling the townspeople's requests. You will have to finish the sheriff's office before you can complete Joker's place. When the sheriff's office has been restored, he will give you a Search Warrant. It is the only way the Joker will let you in. View the events, collect items from the chests, and store items at Basker's shop, if necessary. Basker will give you Foundation in return for the Ointment Leaf you got from Bunbuku. You will need this in Muska Lacka. Yaya will offer to tell your fortune. (Okay, maybe taking a bath with Claude wouldn't have been so bad, after all. But who knew this was in store for you?) She will show you the location of the Moon Orb, and you will find that the fruit merchant has it. Apparently the Moon People were right about what happened to it. You can also ask her to show you the Dark Genie. Go talk to Lana, but you will find that she no longer has the Moon Orb. She gave it to someone... | |||
| Once you have reached 100% on the georama, Sheriff Wilder will reward you with the Macho Sword. He said it was originally a gift for his nephew in Norune Village, but his nephew had returned it, saying a man should fight with his hands. Wait a minute .... Macho Sword! Yes, there he is, right on the hilt! Go talk to Phil at the cathedral, and he will tell you a sad love story, and suggest that you consult the fortuneteller again. As much as you may dread it, it has to be done. This time, she will show you the man whom the queen loved 100 years ago. What?! Is that Rando? He doesn't look that old... Go to his shop. There is nobody there, but there is something glittering on the counter. Pick it up to find it is the Music Box Key. Ah, now you can complete Layer 17. | ||||
| Go see the Joker and buy as many fire gems as you can hold and/or afford. You're going to need them. Equip them as quick slot items. Also buy some Throbbing Cherries from Lana. | ||||
| Boss
Battle: Ice Queen La Saia HP: 400 |
 |
|||
| It is the beloved young queen from 100 years before, who loved a commoner with such tragic results. The easiest way to defeat her is to constantly throw fire gems at her. If she happens to freeze a character, quickly use a Throbbing Cherry to remove the status condition. The fire gems do great damage, so the battle shouldn't take too long. If you don't have fire gems, be ready to spend some time at this. Use weapons with the fire attribute active, and have Throbbing Cherries and food available. Some revive powder and repair powder won't come amiss, either. After La Saia falls, Rando will appear. So it was him... He greets his long-lost love, and it is revealed that he has stayed alive by means of a sphere which grants immortality. (Remember that the Joker was looking for this?) Eternal life without his love was worse than death, however, and he drops the sphere, letting it shatter as he and La Saia agree to go back 100 years and try it again. He apologizes to Toan, admitting that he used the boy to get to La Saia, and then he hands over the Moon Orb. Congratulations - you can now return to Brownboo Village. | ||||
| Brownboo Village: Return the Moon Orb to the Moon People, and they will attempt to activate the Moon Ship. A shaft of light will travel up through the night, arcing through the sky to the far-off desert where the Moon Ship is kept. Unfortunately, nothing happens. The Moon People conclude that something is out of order at the Sun & Moon Temple, the Moon Ship's resting place. While this is being discussed, Goro runs in and suggests, in effect, that everybody stop talking about it and just go there and do something about it. Theo, one of the Moon People, is told to accompany you on your journey. A new entry is made on your map, and off you go. | ||||
Queens Georama
| Georama
Part |
Georama
Pieces |
Event
Item/Occurrence |
| Ruty's Store | Pushcart, Pushcart, Pushcart,
Ruty |
Opens shop, gives Flapping
Fish and Ice |
| Suzy's Store |
Keg, Urn, Pushcart, Lamp, Suzy |
Can change store name,
receive Premium Water, shop opens |
| Lana's Store |
Pushcart, Pushcart, Pushcart,
Lana |
Gooey Peach, additional scene
after fortunetelling,shop opens |
| Jack's Store |
Chimney, Sunshade, Sign,
Lamp, Annex Room, Jack |
If Ruby present, gives Big
Bucks Hammer and Platinum Ring; shop opens |
| Joker's House | Chimney, Sunshade, Sign, Lamp, Joker | Tells about Life Sphere,
opens shop |
| Divining House |
Snake, Sign, Yaya |
Tells fortune twice, later
tells fortune again |
| Cathedral |
Hat-Shaped Roof, Torch, Mark,
Phil |
Tells story of La Saia, gives
Holy |
| Basker's Store |
Chimney, Sunshade, Sign,
Second Floor, Lamp,
Basker |
Trade Ointment Leaf for
Foundation; can store items here |
| King's Hideout | Sunshade, Car, Lamp, Jake, Stew, King | Ruby acquired |
| Sheriff's Office |
Prison, Prison, Bicycle,
Sign, Sam, Wilder |
Sheriff
tells about Joker, gives Search Warrant |
| Fountain |
Water's Surface, Pillar, Spout |
N/A |
| Leaning Tower |
Tower 2nd Floor, Tower 3rd
Floor |
N/A |
| Trees (10) |
N/A |
N/A |
| Road (30) |
N/A |
N/A |
| Villager |
Placement
Requested |
Georama
Pieces Requested |
| King |
Road for car |
Car |
| Stew |
N/A |
Lamp |
| Jake |
N/A |
Sunshade |
| Lana |
Close to King's to keep an eye on Jake |
Pushcart |
| Wilder |
Close to King's to keep an eye on his activities |
Prison |
| Sam |
N/A |
Bicycle |
| Jack |
Near watery |
Sunshade, Chimney |
| Joker |
Far away from Wilder |
N/A |
| Ruty |
Close to port |
Pushcart |
| Suzy |
Close to fountain |
Keg, Urn |
| Yaya |
Snake wants to see rising sun |
Snake |
| Phil |
Close to Leaning Tower, facing ocean |
Emblem (Mark) |
| Basker |
Put in high place |
Second Floor |
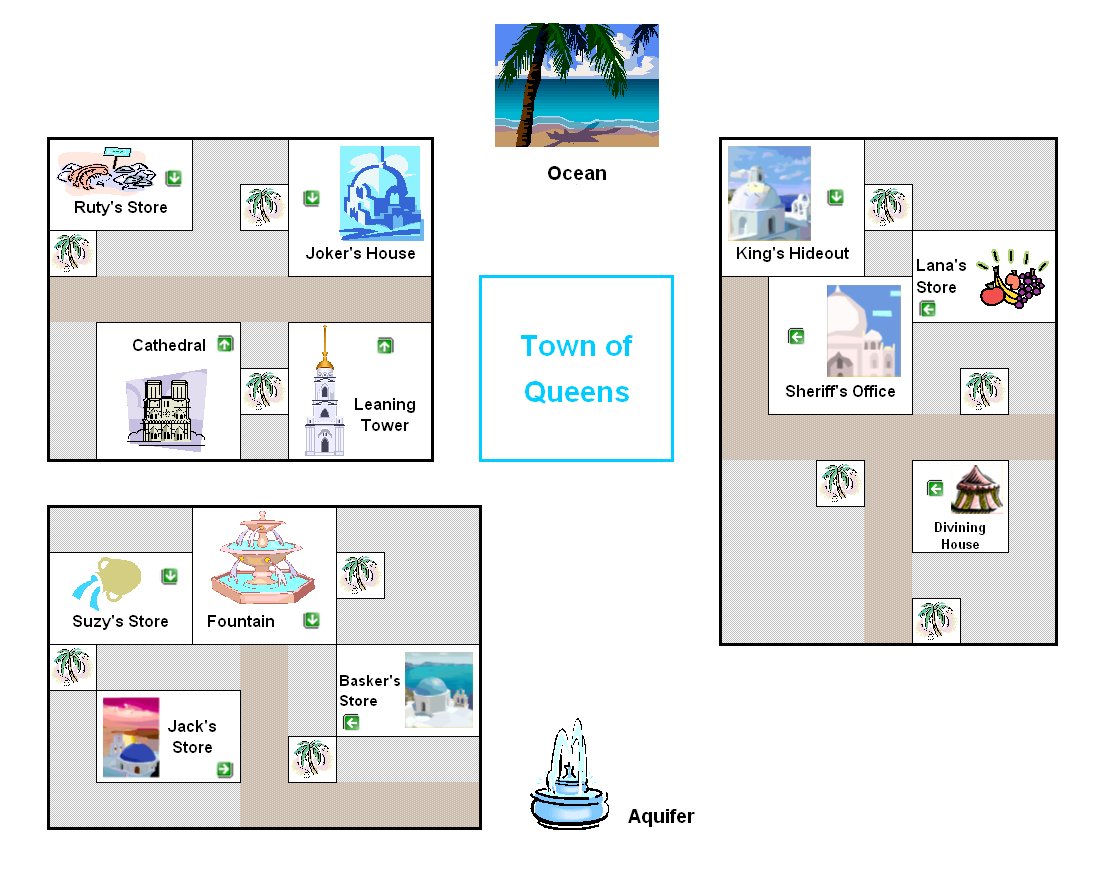
Sample Queens Georama (100%)
Continue to Muska Lacka