
 |
|
|
Norune Village and Divine
Beast Cave
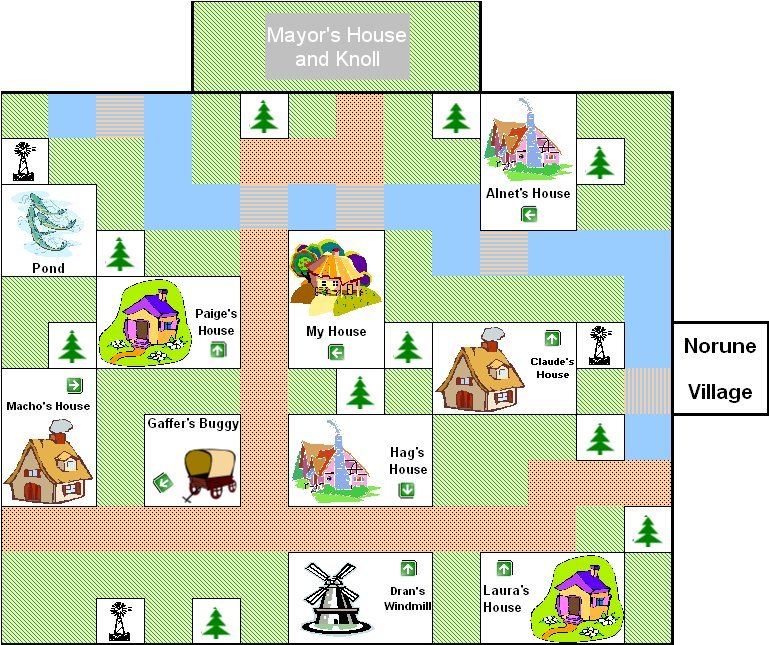
Sample Norune Village Georama (100%)
 |
 |
 |
||
| The Divine Beast Cave is in the corner of the Norune Village lot, opposite the town entrance. If you press the Select button, you will enter Georama mode, and can move Toan quickly to the cave entrance. Approach the cave doors. When you see the ! appear, press the □ button to open the item menu, and select the Cave Key to open the doors. | ||||
| B1: As you enter, you will be greeted by the Fairy King. He will tell you that you must find the gate key to advance to the next floor. It will be carried by a monster, but you won't know which one. When all monsters on the floor have been defeated, the gate key will have been dropped, and you can go on to the next floor. | ||||
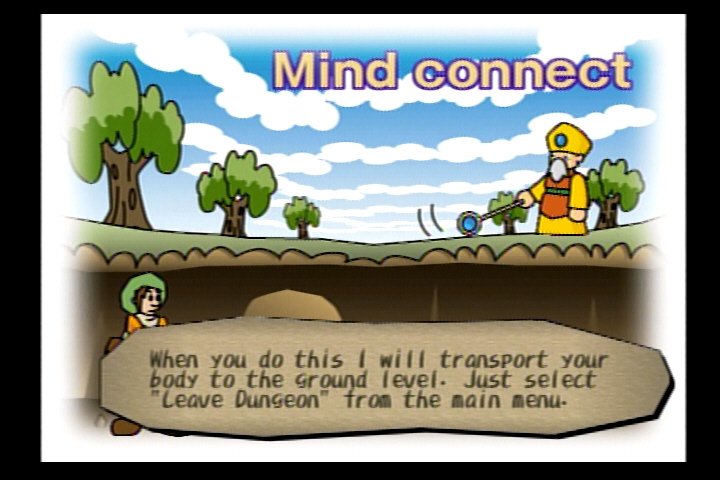 |
You can also Mind Connect with the Fairy King to leave the dungeon when all enemies have been defeated. If you need to leave when monsters still remain, they will block the Mind Connect, and you will have to use an Escape Powder. If you have no Escape Powder, you will lose half your money by escaping. The best way to leave is by using the gate key, because it will allow you access to the next floor, while the other methods will require you to repeat the floor. You cannot advance without the gate key. In the Divine Beast Cave, the gate key is Dran's Crest. | 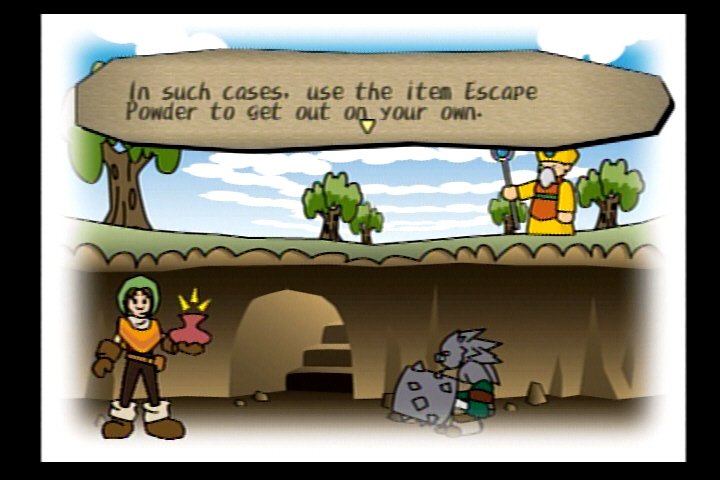 |
||
| The Fairy King will also explain weapon use. As a weapon is used, its durability, or WHp (Weapon Hit Points) will decrease. If the WHp of a weapon reach zero, the weapon will break and disappear. The only weapons which will not disappear when they break are the ones that each character starts with. All other weapons will disappear when their WHp reach zero, so it is important to keep an eye on your weapon, and repair it whenever its WHp get low. | 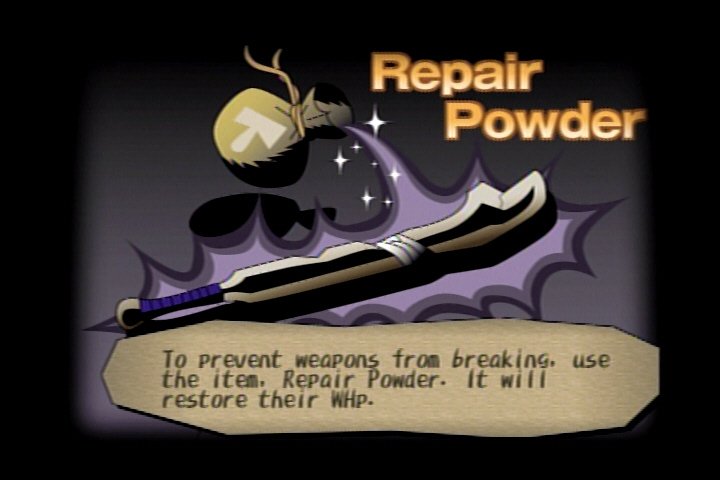 |
Weapons can be repaired with Repair Powder, which is inexpensive, and will fully refill any weapon's WHp, regardless of its level. Auto Repair Powder can be placed in a quick item slot, and will be used automatically to repair a broken weapon, preventing its disappearance. However, it is quite expensive and should be kept equipped in case of emergency only. As you use a weapon, it absorbs power from the enemies it defeats. When it reaches full strength, it can change into another, more powerful, weapon. | ||
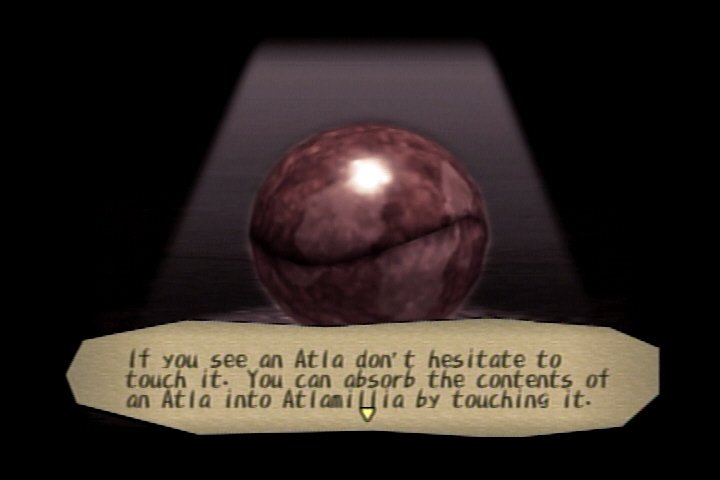 |
The Fairy King will inform you that the atla can be found here in the cave. You must touch each one, which will open it. The contents will then be absorbed by the atlamillia. Only Toan can open atla. | 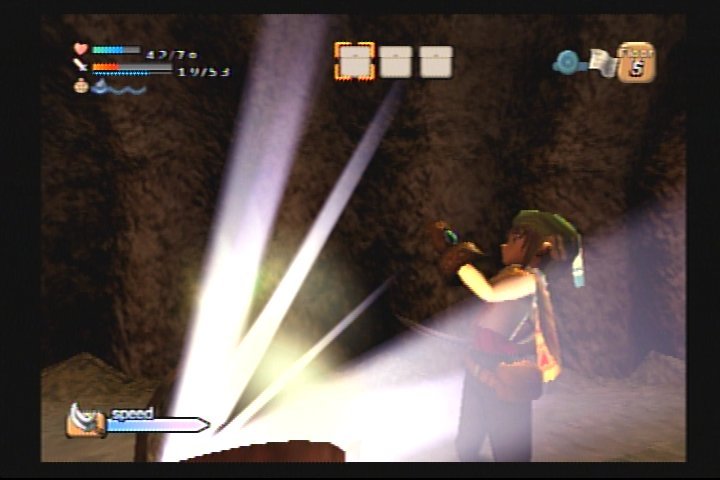 |
||
| Progress through the floor, attacking enemies and opening chests. Once you have defeated the enemy holding the gate key, you will be free to leave. However, it is best to defeat all the enemies and open all the chests if you are able to do so. Also, you must open all the atla if you don't want to repeat the floor. When you are ready, use the gate key at the exit (marked on the map by a yellow square) and press X at the top of the stairs to descend. You will be given the option to leave the dungeon or continue. It is generally best to leave the dungeon between floors, as this will allow you to restock, work in georama mode, and save the game. If you ever have to leave a floor before completing it, the number of atla still remaining on the floor will be shown when you return. | ||||
| When you are back outside, you will see the Fairy King again. He will explain how to use the parts from the atla to rebuild the village. Press the Select button to enter georama mode, and see if you have any components that can be placed in whatever buildings you may already have. You can also use georama mode as a shortcut to the mayor's house, since you can move your cursor to place Toan directly there, rather than walking all the way. Speak to the mayor, and he will supply you with more necessary items. Make sure you are full on water, health, and WHp. If you are not, use the necessary items, and then speak to the mayor again. As long as you do not have any in inventory, he will give you water, bread, repair powder, an antidote potion, and escape powder. You will have to depend on his bounty until you are able to restore the Gaffer's shop, which should not be done until Pike has been placed in the georama. When you are ready to proceed, save the game and reenter the Divine Beast Cave. | ||||
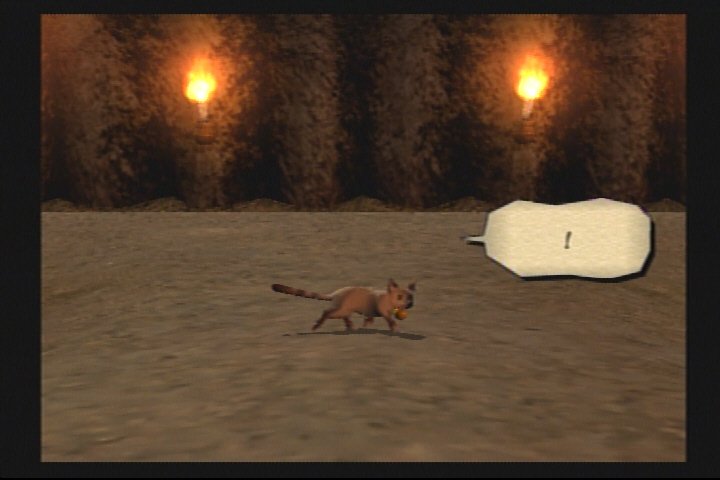
| B2:
On B2, Toan will be surprised by a cat, who appears to be equally
surprised by him. The cat runs away, but you will see her
again. Complete this floor in the same manner as the
first, opening atla, defeating enemies, and opening chests. Be
aware that certain enemies, such as metal or rock ones, will rapidly
deplete your WHp, so keep on eye on that. Upon
obtaining the gate key, you are free to leave the floor. Leave
the dungeon, save, and restock. You can work in georama mode if
you wish, or wait until you have collected more parts. |
 |
|||
 |
B3:
On
the third floor, the Fairy King will be
waiting again. He will explain locking on to enemies and
guarding, as well as how to change weapon attributes. You can
lock on with the ○
button;
pressing L1 while locked on will switch you to another enemy. To
guard, use the R1 button, which will provide Toan with some protection
from
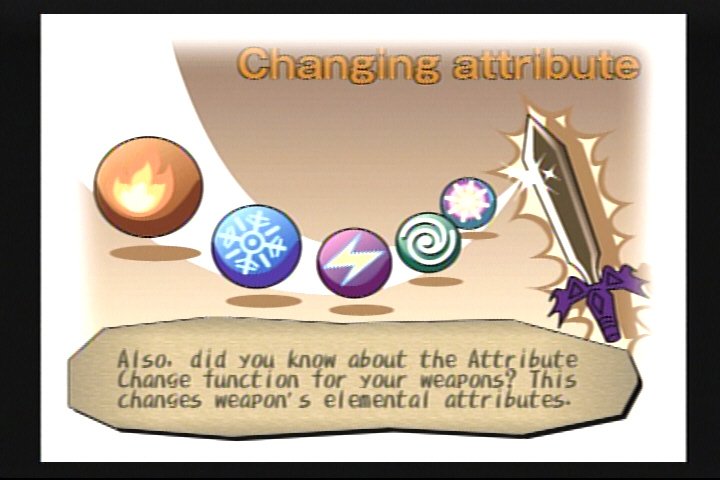
enemy attacks. Weapon attributes can be changed by entering the
weapon menu and using the Attribute or Customize command. You
will sometimes wish to change a weapon's elemental attribute to one
which is more effective against the enemies you are fighting. For
instance, in the Sun and Moon Temple (later in the game), Holy is an
excellent attribute to use, because many of the monsters inhabiting its
floors are undead. |
|||
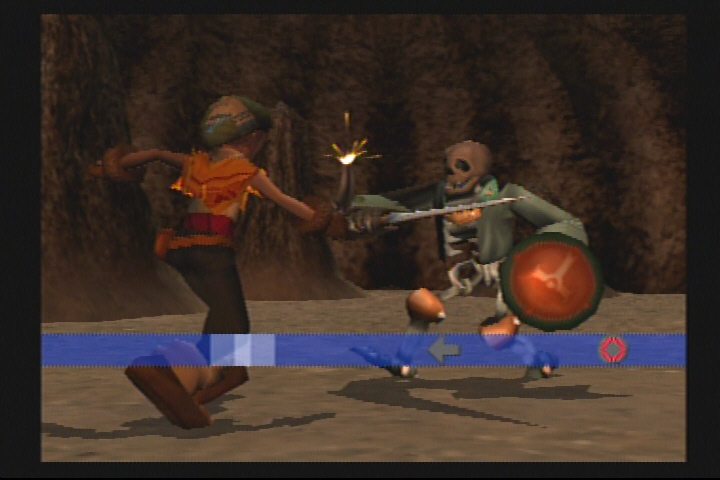
| B4:
Upon entering B4, you will be met by three
Skeleton Soldiers. Defeat them, and another will appear.
The Fairy King will explain that this one is much stronger, and you
must duel him. In a duel, a series of symbols, indicating buttons
on the controller, will move across the screen from right to left, and
you must press the correct button
as the matching symbol passes across
a light blue bar near the left side of the screen. Even if you
win the duel, your timing will determine the results. If you
manage to press each button while its symbol is within the blue bar,
you will see OK! on the screen, but if you press the button precisely
in the center of the bar, you will see COOL! (To do this, you
must actually press the button just before it reaches the center, to
allow for a slight delay.) |
 |
|||
| If all
your button presses result in a COOL!
rating, you will receive something extra after the duel - a random
jewel from the Terra Fairies. If you miss any of the buttons, you
will lose the duel and have to repeat it. After the duel is over,
open the two chests to obtain a Powerup Powder and Dran's Crest.
You can now exit the floor. |
||||
| B5:
What a surprise! The Fairy King is waiting
for you again ... this time to explain the Charge Attack.
To
perform a charge attack, hold down the X button,
and then release it after the character begins to flash. (Toan's
initial charge attack is the Jump Slash.) The Fairy King will
then explain the use of attachments. Enter the
weapon menu and select Customize. This will allow you to place
attachments, which can add to the attack, elemental, and
monster-specific stats of the weapon. When a weapon is upgraded,
any equipped attachments will be absorbed into the weapon. The
first time a weapon is upgraded, it becomes a +1. The number
increases with each subsequent upgrade. Once a weapon reaches +5,
you can perform a Status Break on it. This will turn the
weapon
into a Synth Sphere - an attachment containing 60% of the weapon's
attributes. The exception to this is a character's original
weapon. Performing a status break on an original weapon will
produce a synth sphere, but the weapon will not disappear.
Instead, it will return to its original state, losing the + levels it
had gained. This can be a quick way to level up other weapons,
but be certain that you will never need a weapon again before
considering the Status Break option. |
||||
| B6:
Your feline friend reappears on the sixth
floor. She will start to run away, stop, turn around and look at
Toan, and then run away in earnest. Obviously this cat is
significant in some way. |
||||
| B7:
The Fairy King is ready to explain Back
Floors. These are optional areas accessed with special items, and
they contain stronger enemies and more valuable treasure chests.
The Divine Beast Cave back floor key is Tram Oil. If you use it
at the large red question mark on the map, you will be able to jump in
the old mine car and travel to the back floor. (You will return
by the same method.) Be careful of the enemies, as they are
tougher versions of the ones you have been fighting, or enemies from
floors you have not reached yet. Treasure
chests in back floors sometimes contain
jewels, which makes them very
profitable. I would recommend completing a floor entirely before
entering its back floor, or, at the very least, obtaining the gate key
first. A floor's enemies, and sometimes its
treasure chests, will respawn after you return from the back
floor. If you have already completed the floor,
it will not be necessary to defeat any of the new enemies, as you will
already have the gate key. Furthermore, any treasure chests which
appear on a main floor after completing its back floor will contain
Mimics, so you should take this into consideration before opening any
of them. |
||||
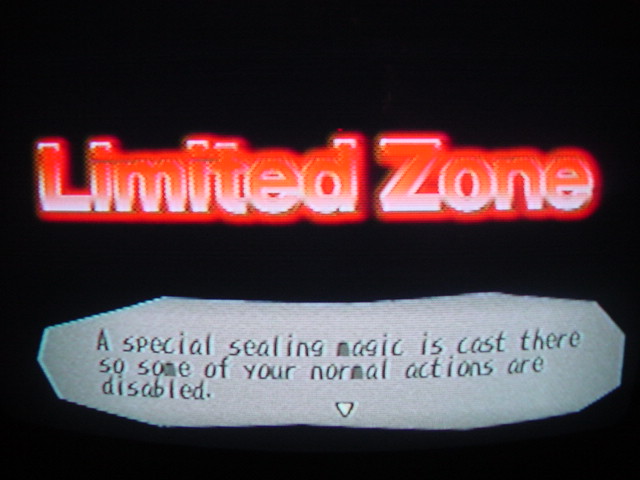 |
The
Fairy King also wishes to tell you about Limited Zones.
These
are floors which place certain restrictions on you. Some will
allow you to use only a particular character, some will make your
characters grow thirsty much more quickly, and some will reduce the Abs
of the equipped weapon with each enemy defeated. These floors
will prevent your changing weapons, as well. That makes them a
good place to use any attack items that you might have available, since
enemies defeated with items don't affect a weapon's Abs gauge. If
you save before entering an Abs-reducing Limited Zone, you can restore
your saved game and change weapons before entering. If you
equip a weapon with nothing in its Abs gauge, the Limited Zone will
make no difference in its status. This floor is an Abs-reducing
Limited
Zone, so keep that in mind when attacking. |
|||
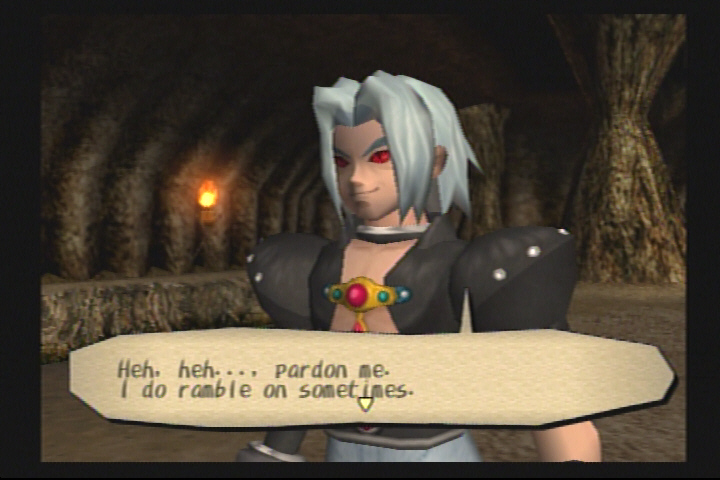
| B8:
The mysterious man seen in the opening
movie is waiting on
B8. He asks Toan for the atlamillia, but is, of course,
refused. He informs Toan that a boy like him is no match for the
Dark Genie, and is then possessed by some evil force. (The red
eyes are a dead giveaway.) It is time for another duel.
Toan sees his little kitty friend cowering behind him, and is then
attacked by the crazed stranger. Toan falls without fighting
back or dodging, and his attacker ridicules him, but then realizes that
Toan stood his ground solely to protect the cat. The strange man
suggests that one day the cat can return the favor. He then gives
Toan a Changing Potion and departs. A lightning bolt seals the
cat in an atla, which Toan must open. Mind Connect to the Fairy
King to leave the floor. |
 |
|||
| After
finishing the eighth floor, you must spend some time
working in Georama Mode. Place pieces in the identifiable
slots in the available building parts, and then place the buildings in
the georama. For the parts that show up as question marks, you
will have to talk to the villagers. After placing a building,
exit to Walking Mode and talk to any residents of the building.
Ask them how to rebuild Norune, and what they would like in their
homes. This will tell you both where to put the building in the
georama, and what pieces should go in the previously unidentified
slots. After completing a building in Georama Mode, enter the
building in Walking Mode. You will witness an event and receive a
reward of some kind. |
||||
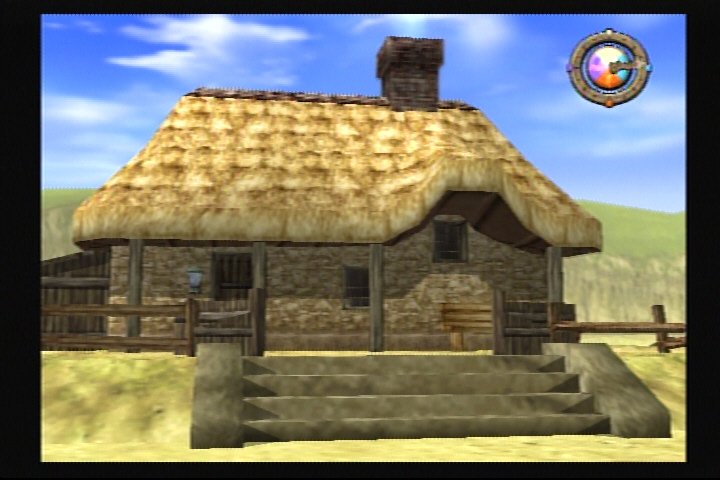
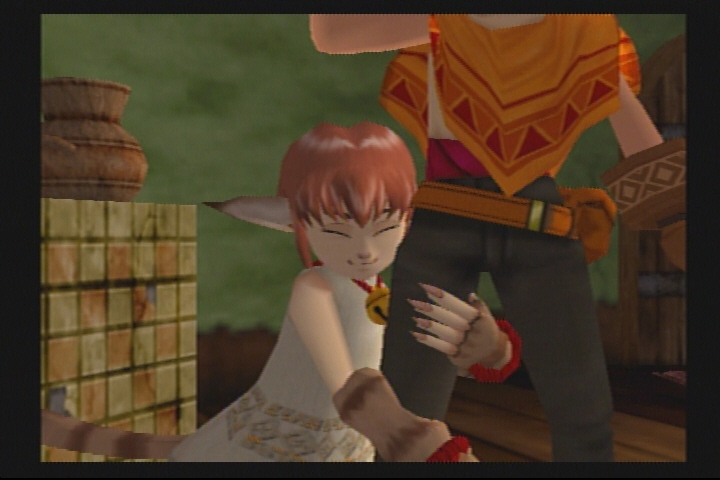 |
The
first building you should complete is Toan's house. You will
have to place the house and speak to Toan's mother, Renee, to be able
to complete it. After you have all the
necessary pieces in the
house, including the cat, enter the house and see an event. The
cat is waiting inside the house, and jumps
into Toan's arms as he walks in. You must name the cat (whose
default name is Xiao).
Afterwards, you will automatically exit the house. Reenter to
find the cat on Toan's bed. When you see the exclamation point,
use the square button
and select the Changing Potion. The cat will turn into a human,
and will join your party. Toan's mom asks about his new friend. |
|||
| Toan
then finds himself in darkness with the
Fairy King before
him. The Fairy King explains about using allies, which can only
be done in dungeons. Switch to an ally with the Select button, or
use the menu and choose Allies. Xiao can jump across gaps that
Toan cannot get across, so she will be very important in your dungeon
crawling. |
||||
| Back
to B8: Switch to Xiao to jump the gap, and
open the chest to obtain Dran's Crest. Leave the floor. |
||||
| Most
of the remaining floors are unremarkable, but B11 is a Limited
Zone requiring the use of Xiao only. After completing B14, return
to
the village to finish restoring it. There is a clock in the upper
right corner of the screen which you should notice. Each day is
divided into four segments, which are designated on the clock as four
different colored sections. The time of day will sometimes
determine where you will find the villagers or what item you receive in
a georama event, so you will need to take note of the time. |
||||
| Important:
Place Paige's House, with Pike in it, before
placing
the Gaffer's Buggy. If you do not, Gaffer will put up his own
sign and injure himself in the process. As a result, his
inventory will be greatly reduced. |
||||
| Important:
Witness the event in Claude's House in the morning,
or
you will not receive an item which will be needed in the next
village. (If you enter Claude's house in
the afternoon, he will be sleeping. If you enter it at night,
well .
. . did you ever play Final Fantasy VII? Remember the
disturbing room at the Honeybee Inn in the Wall Market? This
isn't much better. If you enter Claude's house at night, he will
be bathing. When he sees you, he will . . . er . . . invite you
to join him. And give you some soap. And cheese.
Please avoid this at all costs.) |
||||
| Identify
the rest of the pieces needed for the georama parts, and place
the buildings according the villagers' wishes. After you have
viewed the events in each home, you should enter Georama Mode and check
the georama analysis. If you have placed all the parts in
accordance with the requests of the villagers, you should be at
87%. It is impossible to achieve 100% before defeating the boss,
because part of the Hag's request is to see that Dran is safe. |
 |
|||
| As
you place the buildings, you will notice chests in various
locations, These are Miracle Treasure Chests, and they appear as
you access new floors of the Divine Beast Cave. You can open them
as they appear, or wait and open them after the village has been
restored. They can contain items and attachments, which will save
you quite a bit of money, as
well as some items that can't be bought anywhere in the game.
These include character-specific items which increase defense, Gourds,
which
fully quench thirst and increase a character's thirst meter by 1, and
Fruits of Eden, which completely restore HP and increase a character's
max HP by 10. |
||||
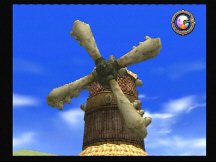 |
After
completing the village, enter Dran's Windmill and open the chest
containing the Horned Key. Go to the Hag's House and store any
items you won't need immediately, and then go the Gaffer's Buggy and
buy as many bombs as you can. Equip them as quick slot
items. Save the game, and return to the Divine Beast Cave.
On B15, use the Horned Key to open the door to the final chamber. |
|||
| |
||||
| Boss
Battle: Divine Beast Dran HP: 200 |
I generally use Xiao for the entire battle. Target Dran and shoot at him. When you hit him, he will flash red and land for a few seconds. As soon as he lands, run up behind him and throw a couple of bombs at him. Then run for the side of the room. If he blasts you while you are in the main part of the room, his attack can hit the floor and cause a large portion of it to fall away. If you fall through a hole in the floor, you will sustain significant damage. Once Dran is in flight again, repeat the process. Keep doing this until he has been defeated. It is important to remember to stay to the side when you aren't attacking, and to keep your quick slots filled with bombs. |  |
||
 |
If
you are unable to afford bombs, the battle will be considerably
longer. Shoot at Dran with the slingshot, then switch to Toan
after you hit him. Run up behind him and attack with Toan's
sword, then run to the side. The procedure is similar to that you
use with the bombs, but it will take quite a while to defeat Dran this
way.
After the battle, Dran will no longer be under the Genie's
control. He wants to know what has happened, and is very
apologetic. He offers to give Toan a ride back to the village, so
Toan climbs on Dran's back. After landing in the village, Dran
will reward Toan with the Windmill Slash special attack. This is
much appreciated, even though Dran does tell you to use the ○ button
instead of the X button
for the charge attack. Oh, well, Dran's had a hard day. |
|||
| If there is any part of the village you have not completed, do so now. Once everything is placed and the villagers are 100% satisfied, a scene will occur which shows a panoramic view of the village. Then Dran will return with another gift for Toan - a world map. This map will allow you to teleport instantly to any area that is marked on it. Matataki Village, the next area you must restore, will be available from this map. | 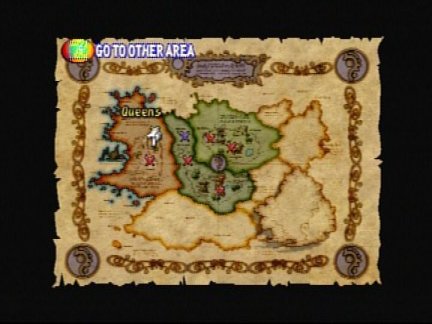 |
|||
| After finding all the Miracle Treasure chests, visit the Hag and store any items you don't have room to keep in inventory, and then save the game, open the world map, and teleport to Matataki Village. | ||||
Norune Village Georama
| Georama
Part |
Georama
Pieces |
Event
Item/Occurrence |
| My House |
Keg, Chimney, Upstairs Storage, Renee, Llama,
Stray Cat |
Xiao acquired |
| Macho's House |
Fence, Lamp, Annex Room, Barbell, Macho, Komacho |
Stone Breaker |
| Laura's House |
Fence, Lamp, Cabin, Tricycle, Auntie Laura, Gina |
Dran's Feather |
| Paige's House |
Fence, Lamp, Cabin, Wheels, Pike, Paige |
Pocket |
| Claude's House |
Fence, Lamp, Cabin, Bench, Candy Box, Claude |
Candy or Soap and Cheese |
| Hag's House |
Fence, Lamp, Cabin, Bench, Jar, Hag |
Storage space |
| Alnet's House |
Lamp, Cabin, Stairway, Alnet, Carl, Llama |
Fishing Rod |
| Gaffer's Buggy |
Supplies, Sign, Lamp, Odd Gaffer |
Store opens |
| Dran's Windmill |
Dran's Blades, Torch, Dran's Horn, Sign |
Windmill blades begin turning |
| Small Windmill 1 |
Windmill Vanes, Ladder |
N/A |
| Small Windmill 2 |
Windmill Vanes, Ladder |
N/A |
| Small Windmill 3 |
Windmill Vanes, Ladder |
N/A |
| Pond |
N/A |
N/A |
| Trees (10) |
N/A |
N/A |
| Road (25) |
N/A |
N/A |
| River (20) |
N/A |
N/A |
| Bridge (5) |
N/A |
N/A |
| Villager |
Placement
Requested |
Georama
Pieces Requested |
| Komacho |
Not have to go far for good workout (near cave) |
Fence, Lamp |
| Macho |
Close to where he can fight (near cave) |
Annex Room, Barbell |
| Pike |
Place close to fishing |
Wheel |
| Claude |
Where he can smell good food |
Candy Box |
| Renee |
Have sun shine in and wake her |
Chimney, Storage Room |
| Gaffer |
To be near houses so he can do some business |
Supplies, Sign |
| Paige |
N/A |
Lamp |
| Laura |
Far away from the noise of the mayor's house |
Storage Cabin |
| Gina |
N/A |
Tricycle |
| Hag |
In front of Dran's Windmill (and save Dran) |
Bench, Jar |
| Carl |
N/A |
Storage Cabin |
| Alnet |
Away from Macho brothers |
Lamp |
Sample Norune Village Georama (100%)