
 |
|
|
Dark Heaven Castle and the Gallery of Time
 |
 |
 |
||
| Seda was the king, and was waging a terrible war with the west. But he was losing that war, and did not know which way to turn. Then he was approached by a mysterious magician in a cloak, offering him a deal. When witch blood is mixed with human blood, a frightful thing is created. (If you recall, a mixture of witch and human blood was one of the requirements for the dancers in the ceremony to unleash the genie at the beginning of the game.) The wizard suggests that Seda make use of this to defeat the west. In desperation, Seda did so, but as a result, the now evil blood in his veins gave birth to the ultimate destructive power - the Dark Genie. Seda did a great deal of research to find a way to counteract what he had done, and came to learn of the Atlamillia, a stone born from the earth once every eon. Upon discovering that it would be born in 400 years, the time in which this game occurs, Seda used the Forbidden Spell to travel through time, intending to get the Atlamillia. He soon realized, however, that he no longer had the strength necessary to use the Atlamillia and defeat the genie, and rested all his hopes in Toan, whom he believed to be the only one who could destroy the genie. | 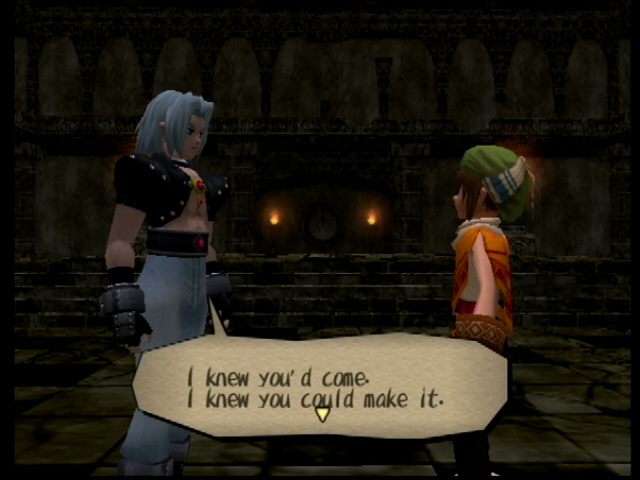 |
|||
 |
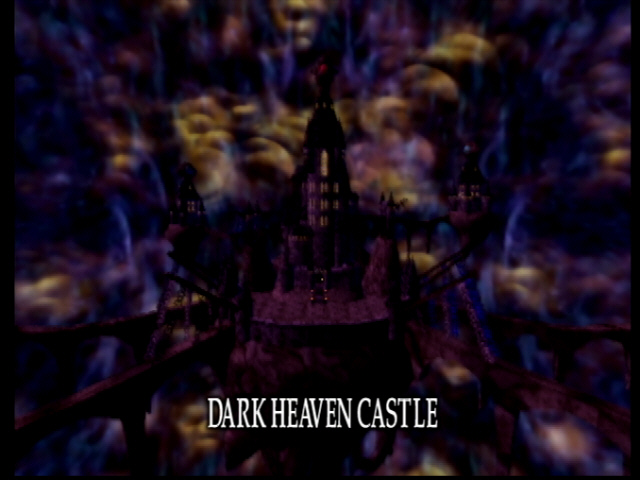
As you enter the castle, Seda has little time left, because the genie's will is growing stronger, threatening to overcome him completely. He tells Toan that, as the genie is not actually a living being, he cannot be killed, so Toan must travel back through time to erase his origin point. In a last act which demonstrates his strength and will, Seda falls on his own sword, releasing a powerful energy stream which opens the door to the Gallery of Time. His last words are his instructions to Toan to travel through the Gallery of Time, following the fragments of his memories which are scattered there. (You can see as you travel back through time that the carpet becomes less and less deteriorated, so you can have an idea of your passage through time by its condition.) | |||
| Once you have begun your exploration of the Gallery of Time, the Fairy King will be standing in the Dark Heaven Castle, waiting to store items and sell Toan items, attachments, and gems. You'd think that, after asking you to save the world, he might be willing to provide you with the necessary supplies at no cost, but, alas, that is not the case. Work your way through the Gallery of Time, collecting the fragments of Seda's memories from the atla. All georama work must be done in the dungeon in this area, so place the pieces as you go. After you complete a section, you can view it then, or choose to see all of the segments after you complete the rest of the dungeon floors. | ||||
| 66 Years Ago: This is a limited zone which reduces Abs. Get the Clock Hands and clear out of there. | 109 Years Ago: This is another Abs-reducing zone. | 225 Years Ago: Yet another Abs-reducing floor. | ||
| 300 Years Ago: This is a Limited Zone which requires the exclusive use of Xiao. | 310 Years Ago: Only Goro is available to you here. Get through with as little fighting as possible. Goro is slow, and most of these enemies are fast. Do you have any bombs? | 322 Years Ago: Ruby is your only option here, but since she is the character of choice, that shouldn't be a problem. | ||
| 340 Years Ago: Ungaga gets a chance to fight on this floor. If you have a strong weapon for him, he should do very well. Otherwise, fight sparingly. | ||||
| 356 Years Ago: You must fight with Osmond here. He is unlikely to have a strong weapon at this point, so stay here only until you can find the Clock Hands. | ||||
| 400
Years Ago: Night of the Incident As you enter the final floor, you will once again see the fragments of Seda's memory. They are presented in order, and tell you the whole story. Seda's father died, making him king. He met Sophia on the night of his coronation, and immediately fell in love with her. However, he had to devote his time and energy to the war on the west. The war went badly and Seda made the deal which mixed black blood with his own, unleashing great power. His army defeated the west, and he returned home, longing to see Sophia again. He had a joyful reunion with her, only to find "she" was not the real Sophia, but an assassin. The real Sophia appeared just in time to save Seda from the impostor, but was killed herself in the process. This tragic event caused the evil blood in Seda's veins, fueled by his anguish and hatred, to give birth to the terrible Dark Genie. Aghast at what he has brought upon the world, Seda determines to find a way to save them all. |
||||
 |
Toan arrives just in time to witness the reunion of Seda and "Sophia," the assassin. He hides behind a pillar, watching the events unfold, until he sees that Seda is about to die. He jumps in to foil the assassin, and Sophia does, too. Sophia dies, leaving Seda in anguish. He turns to look at Toan, and accuses him of being another assassin. Toan denies the charge, but Seda pays no heed. The Dark Genie burst forth from him, and you have no alternative but to fight it. | 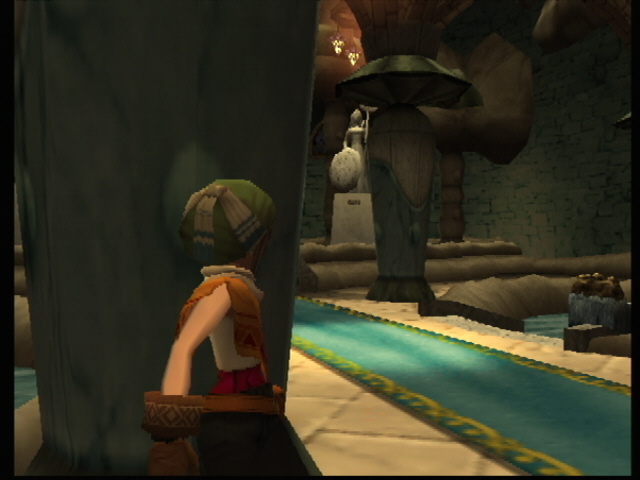 |
||
| Boss
Battle: Dark Genie HP: 13,400 |
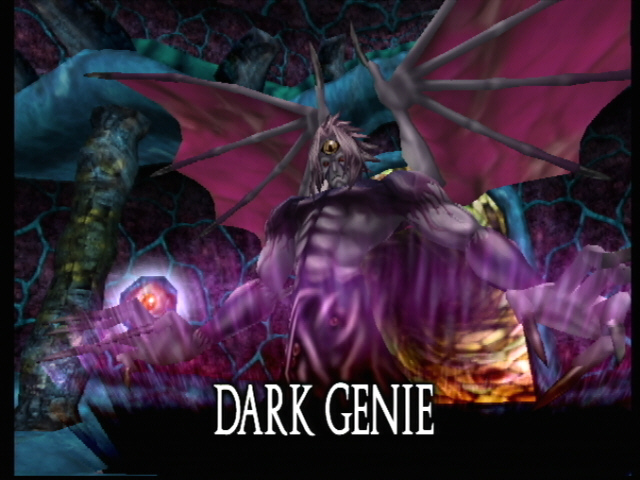 |
Have lots of food, powders, and stamina potions ready. There are three phases to this battle. In the first, two large hands with elemental symbols on them will come up out of the ground. The symbols will change, but whichever symbol is active indicates the only element which can damage the hand. Use Ruby with a strong weapon which has high levels in each elemental attribute. Run around the room, avoiding the Dark Genie's beam attack, and listen and watch for a hand to appear. You must move quickly to hit the hands, because they disappear as quickly as they appear. There is not enough time to target them, so you must quickly turn and shoot an elemental attack of the proper type right at the hand. When both hands have been defeated, the first phase of the battle ends. In the second phase, the genie's head should be attacked by Ruby with a strong Holy attribute active. Run around the room avoiding the beam he shoots, and target the head when you can. He will hit you sometimes - there doesn't seem to be any way to escape all his attacks. Make sure to keep your health high and your weapon repaired. | ||
| After this form is defeated, he will become a giant black beast with a couple of monsters, called Gacious, in attendance. Plan to use stamina potions in this phase. The genie will fire a strong beam, again - you should run away from it. Destroy a couple of minions to make the genie's mouth open, and then attack the gem in the beast's open mouth. Always target that gem when it is available to you. Try to stay away from the feet, and watch the minions, which will respawn. After the gem is no longer a target, begin the cycle again, avoiding the beam and eliminating the minions, then going for the gem in the mouth. Ruby is a good choice here, too, though you can use a short-range fighter if you prefer. When you have done enough damage, the genie will be no more. | ||||
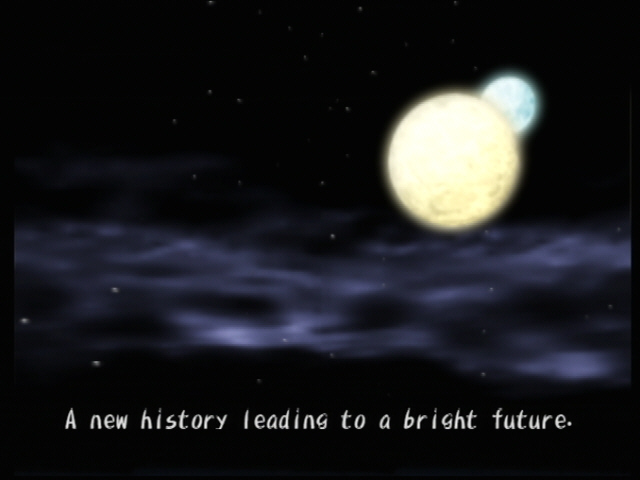
| The genie is gone, but the Fairy King appears to tell Toan that, unless he can eliminate the hatred and despair that gave the creature life, it will not be gone for long. The Atlamillia can perform one more service for mankind, though it will be destroyed in doing so. Toan can use the Atlamillia to call for Sophia's wandering soul. He does so, and Sophia lives once again. Seda is overjoyed, and good triumphs over evil once again. You've done it! Congratulations! |  |
|||
 |
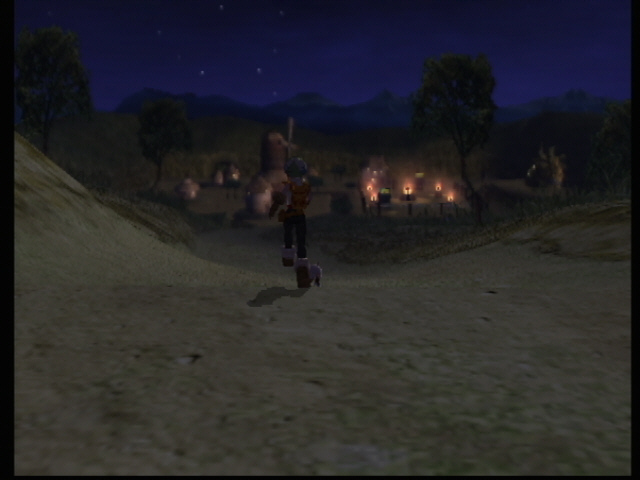
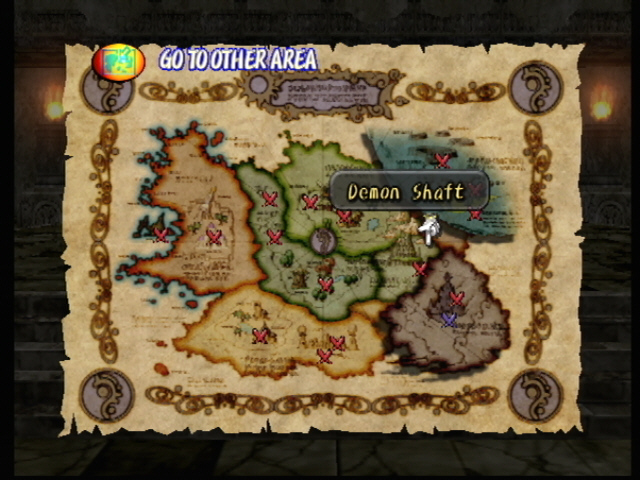
After the credits and final
movie, a new
area will be open on the map. You can now explore the Demon Shaft
- 100 floors of meaningless combat in a completely new location! |
 |
||
 |
||||
Gallery of Time Georama
| Georama
Part |
Georama
Pieces |
Event
Item/Occurrence |
| Crowning Day |
Bed, Father, Crown |
Story segment available |
| Night of the Ceremony |
Moon, Castle, Torch, Crown, Sophia |
Story segment available |
| Reunion in the Storm |
Bed, Minister, Sophia, Buggy |
Story segment available |
| First Campaign |
Horserider, Sword, Wizard, Father, Crown |
Story segment available |
| Menace of the West |
Wizard, The Broken Sword, Horserider, Castle,
Sophia |
Story segment available |
| The Deal |
Fort, The Broken Sword, Black Robed Man, Bloody
Agreement |
Story segment available |
| Dark Power |
Black Blood, Light, Wizard, Castle, Sophia |
Story segment available |
| The Assassin |
Castle, Wine, Moon, Sophia, Door, Assassin |
Story segment available |
| Must be Protected |
Sophia, Knife, Bloody Dress |
Story segment available |
| Birth of the Demon |
Castle, Dark Cloud, Black Blood |
Story segment available |
| Things Lost |
Ruined Castle, Grave, The Broken Sword |
Story segment available |
| Departure |
Sandglass, Prophet, Sword, Book
of Curses |
Story segment available |